

How to Synchronize Microscope Eyepiece and Camera Clarity — A Step-by-Step Calibration Guide
When using a microscope, users often encounter a situation where the image viewed through the eyepiece is clear, while the image captured by the camera appears blurry. What causes this, and how can it be corrected?
This issue usually arises from an unsynchronized optical path. This article provides a systematic overview of how to synchronize image sharpness for different types of microscopes, helping you quickly achieve clear and consistent imaging results.

Biological Microscope
- Preparation
Place the specimen on the microscope stage. Set the eyepiece diopter adjustment to “0” and use a 10× objective lens for preliminary focusing.
- Determine the Adapter Type and Adjust Accordingly
If the image becomes blurry after switching to the camera optical path, adjustments should be made based on the camera adapter type.
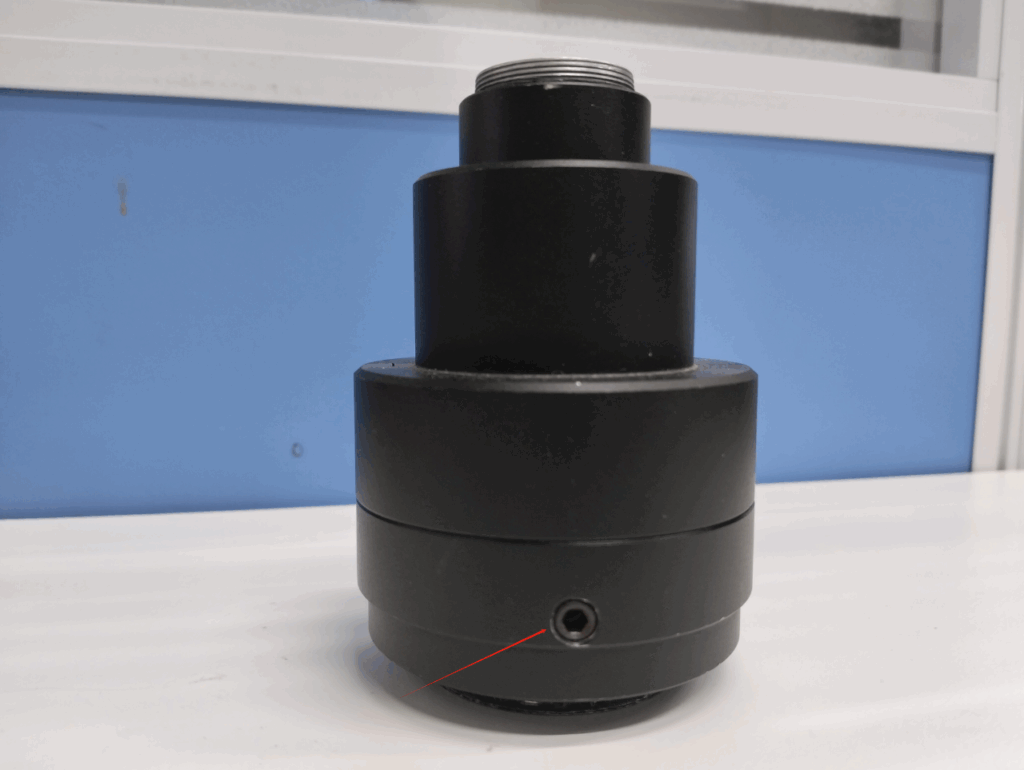
- For a 1× Adapter (e.g., TV1×C)
(1) Locate the tightening screw on the adapter (see Fig. 1).
(2) Loosen the screw using a 3.0 mm hex key.
(3) Slightly rotate the upper part of the adapter while observing the image until it reaches optimal sharpness.
(4) Retighten the screw to secure the adjustment.
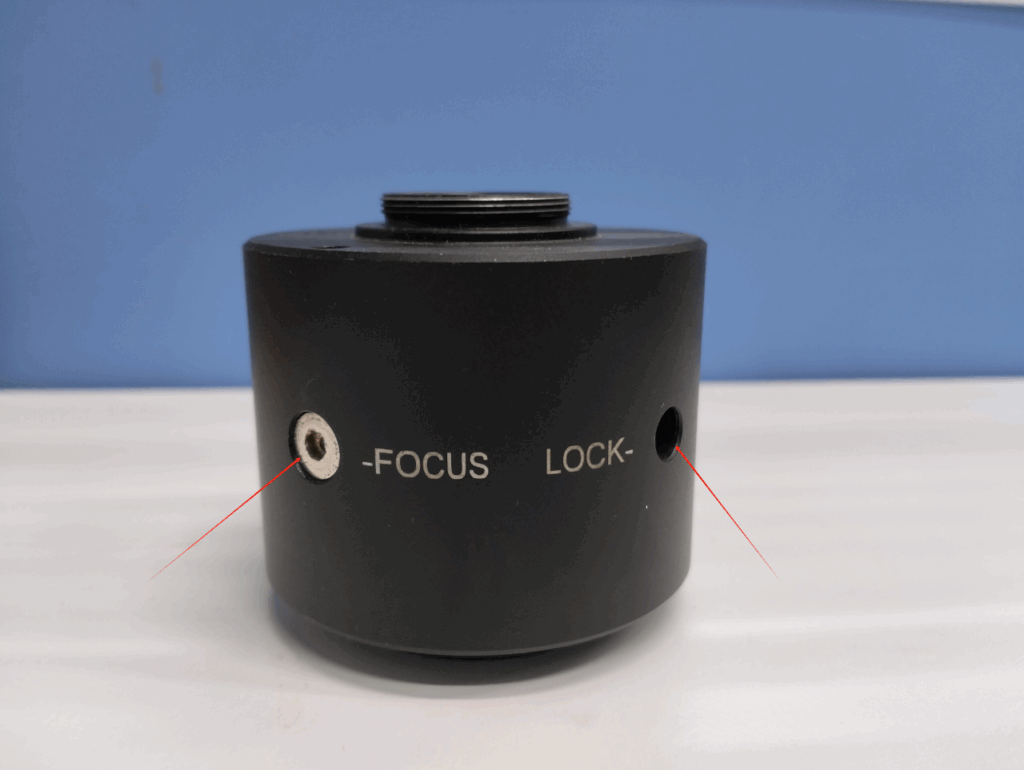
- For Other Magnification Adapters (e.g., TV0.5×C)
(1) The adapter is usually equipped with two screws labeled FOCUS and LOCK (see Fig. 2).
(2) Loosen the LOCK screw first, then adjust the FOCUS screw while monitoring image clarity.
(3) Once the image becomes sharp, tighten the LOCK screw to secure the setting.
Stereo Microscope
Stereo microscopes feature a zoom function. Follow these steps for adjustment:
- Place the specimen on the stage and set the eyepiece diopter adjustment to “0”.
- Set the zoom knob to the highest magnification and focus until the eyepiece image is perfectly sharp.
- Gradually reduce the magnification and confirm that the eyepiece image remains clear.
- At the lowest magnification, switch to the camera optical path. If the image appears blurry, follow the same adapter adjustment method described above to synchronize focus.
- After adjustment, ensure that the camera image remains clear across all magnifications.
Note: Focusing should always be completed at the highest magnification to achieve clarity synchronization across the entire zoom range.
Important Notes
- Ensure the microscope focusing mechanism functions properly before adjustment.
- The eyepiece diopter should be initially set to “0”, suitable for users without myopia or those wearing corrective glasses.
- Do not operate the focusing knobs during synchronization adjustment.
- Use a matching hex key according to the adapter screw specifications.
- After synchronization, users may adjust the eyepiece diopter according to their vision without affecting camera image clarity.
Troubleshooting
If synchronization cannot be achieved using the above methods, try the following alternative approaches and inspection steps:
- Alternative Adjustment Method:
You may reverse the procedure — first ensure the camera image is clear, then adjust the eyepiece diopter until the visual image becomes sharp. This can also achieve synchronization. - Hardware Compatibility Check:
If the issue persists, verify that the camera adapter is compatible with the microscope model, and confirm that the camera sensor size matches the optical system.
The methods described in this guide apply to most common microscope and camera combinations and can effectively resolve issues where the eyepiece and camera images are not synchronized in clarity.
If you have any suggestions, require further assistance, or encounter difficulties during operation, please contact our Technical Support Team for additional guidance.
Copyright Notice: Brand names and adapter models mentioned in this article are for illustrative purposes only. Please contact us for removal if any copyright concerns arise.